Ecobee Thermostat Installation (5 Easy Steps)
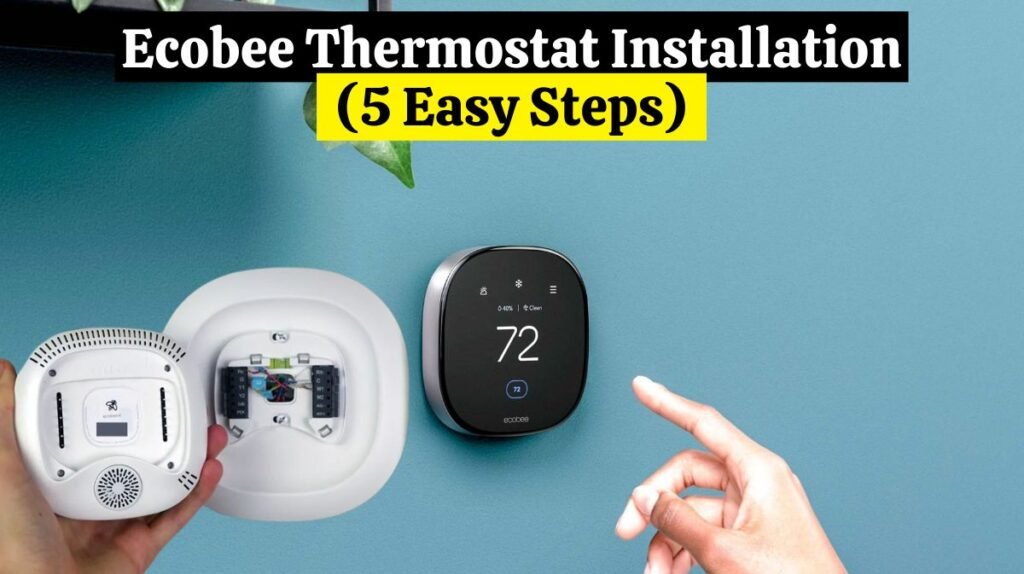
Are you wondering how to install the Ecobee SmartThermostat with Voice Control? Let’s get started.
Get started by downloading the Ecobee App and creating an account. You can access Ecobee’s main app screen by entering your existing credentials.
Before Ecobee thermostat installation, it is important to verify that it is compatible with the heating and cooling systems in your home. Check out Ecobee’s free online compatibility checker to confirm. Ecobee thermostat installation is relatively straightforward. Here’s a general guide on Ecobee thermostat installation.
Ecobee Thermostat Installation (Step-By-Step)
Here is a simple step-by-step guide on Ecobee thermostat installation. Follow these simple steps:
Check out this guide How To Set Honeywell Thermostat Temperature (Easy Steps)
1. Prepare The Tools and Turn off The Power:
Make sure you have the following tools ready before you being: a screwdriver, wire cutters, wire strippers, and a level. To ensure your safety during Ecobee thermostat installation, locate the circuit breaker panel and shut off the HVAC system.
2. Remove The old Thermostat (if you have one) :
You’ll need to remove the cover of your existing thermostat to access the wiring (if you have one). Ensure you reconnect the wires correctly by noting down the connections and labels. Take the mounting plate off the wall once you’re done.
3. Mount it and Connect The Wiring:
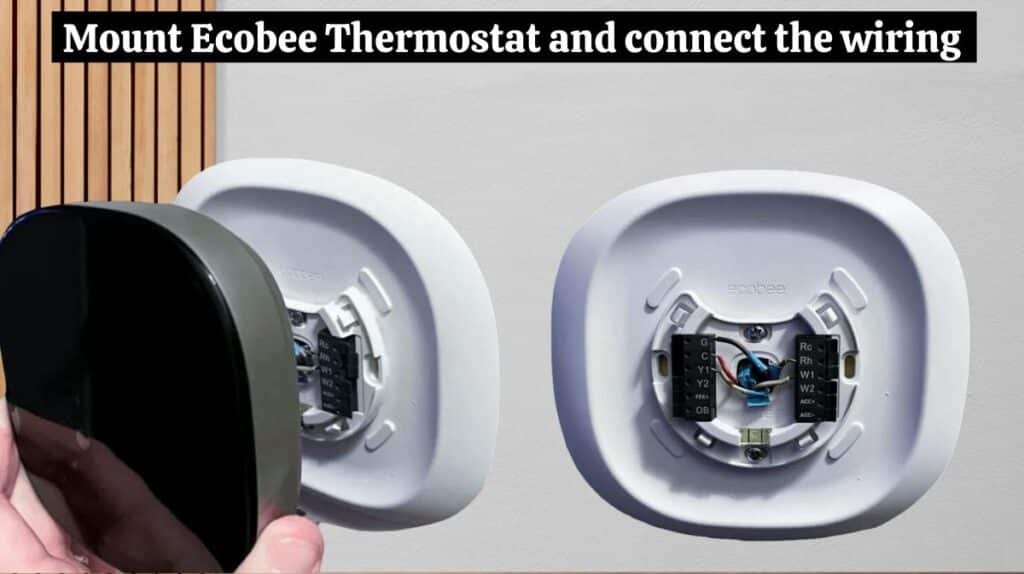
Mount the included mounting plate to the wall with the provided screws. You should ensure that it is level. You may need to use a level to make sure the plate is straight. You should connect the wires from your HVAC system to the corresponding terminals on your Ecobee thermostat.
Put the Ecobee thermostat on the mounting plate and gently push it down until it snaps in place. The labels you noted down earlier will come in handy here. Prepare the wires, if necessary, with wire cutters and strippers.
If you want to know How To Reset the Nest Thermostat, read this.
4. Turn on The Power and Follow The Instructions:
Turn back on your circuit breaker panel and turn on your HVAC power. During the initial setup, the Ecobee thermostat will guide you. Connect it to your home Wi-Fi network, set your preferences, and complete the configuration by following the instructions on the screen.
5. Test Your Thermostat:
You can now install Ecobee remote sensors in different rooms if you purchase additional sensors. Sensor installation instructions will be provided with the product. (optional)
Before Ecobee thermostat installation, test your Ecobee thermostat by adjusting the temperature settings and making sure it controls your HVAC system properly.
For detailed instructions and specific requirements, please consult the installation manual that came with your Ecobee thermostat. If you are unsure of how to install an HVAC system, it’s best to consult a professional for Ecobee thermostat installation.
If the Nest thermostat battery is damaged or dead, you will need to replace the Nest thermostat battery
Ecobee Smart Thermostat Premium Installation:

Ecobee’s Smart Thermostat Premium is its latest app-enabled thermostat. The $250 model competes directly with the Nest Learning Thermostat and has many features to justify its high price. The latest Ecobee SmartThermostat with Voice Control version includes an air quality sensor and a new thermostat interface. With a compatible smart speaker or display, you can also use Google Assistant and Apple HomeKit with the Smart Thermostat Premium.
Ecobee Smart Thermostat Premium installation is similar to Ecobee Smart Thermostat installation. However, the Smart Thermostat Premium has additional features such as voice control and occupancy detection. Here’s a step-by-step guide on Ecobee Smart Thermostat Premium installation:
1. Prepare The Tools and Turn off The Power:
Before Ecobee Smart Thermostat Premium installation, make sure you have the following tools: a screwdriver, wire strippers, wire cutters and a level. To ensure your safety, locate your circuit breaker panel and turn off your HVAC system.
2. Remove The Existing Thermostat (if you have one):
Your existing thermostat’s cover must be removed to access the wiring. Labels and wire connections should be noted.
Read this if you are looking for information on Nest Thermostat Not Cooling issue.
3. Mount it and Connect The Thermostat Wiring:
Attach the Ecobee thermostat mounting plate to the wall with the provided screws. Ensure it is straight with a level. Your HVAC system wires should be connected to the Ecobee thermostat’s terminals.
Refer to the labels you noted earlier. Use wire cutters and strippers to prepare wires. Push the thermostat gently onto the mounting plate until it clicks into place.
4. Turn on The Power and Follow The on-screen Instructions:
Turn on your HVAC system by returning to your circuit breaker panel.
The following guide will walk you through the initial setup process for the Ecobee Smart Thermostat Premium. Connect the device to your Wi-Fi network, configure settings, and complete the setup by following the on-screen instructions.
5. Install the Smart Sensor:
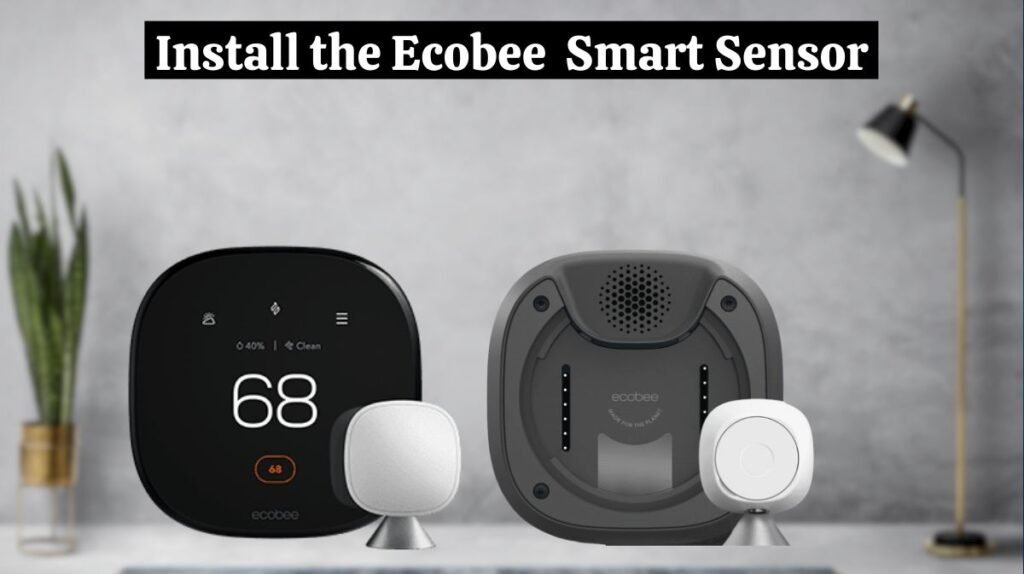
The Ecobee Smart Thermostat Premium features a Smart Sensor that detects room occupancy and temperature. Place it in the room of your choice. For pairing with your thermostat, follow the instructions provided with the sensor.
To use voice control, follow ecobee instructions to set up Amazon Alexa or Google Assistant with your Smart Thermostat Premium.
6. Test Your Ecobee Smart Thermostat:
After Ecobee Smart Thermostat Premium installation, Test it by adjusting the temperature settings once everything has been installed and set up. Verify that your HVAC system is properly controlled. You can also test occupancy detection using a Smart Sensor.
Ecobee Smart Thermostat Premium installation instructions and any special requirements are always included in the manual. Consult a professional HVAC technician if you’re unsure about the installation process.
Conclusion:
The Ecobee thermostat installation is easy. Your home will be more energy-efficient and environmentally friendly with an Ecobee thermostat. The framework is harmless to the ecosystem while providing solace, accommodation, and reserve funds.
Frequently Asked Questions:(FAQs)
• What are the benefits of using an Ecobee thermostat?
With the Ecobee Thermostat, you can save energy and control your home remotely.
• Is professional installation recommended for the Ecobee Thermostat?
Professional installation is unnecessary, but if you aren’t satisfied with the electrical work, you might consider hiring one.
• Do I need a C-wire for the Ecobee Thermostat?
While a C-wire is recommended to ensure uninterrupted power, the Ecobee Thermostat can function without one if you use the included Power Extender Kit (PEK).
• How does an Ecobee get the outdoor temperature?
The advanced algorithm utilizes geographic data to interpolate weather specifics for your precise location. An algorithm based on multiple nearby stations calculates the weather at your home based on the information from multiple nearby stations.