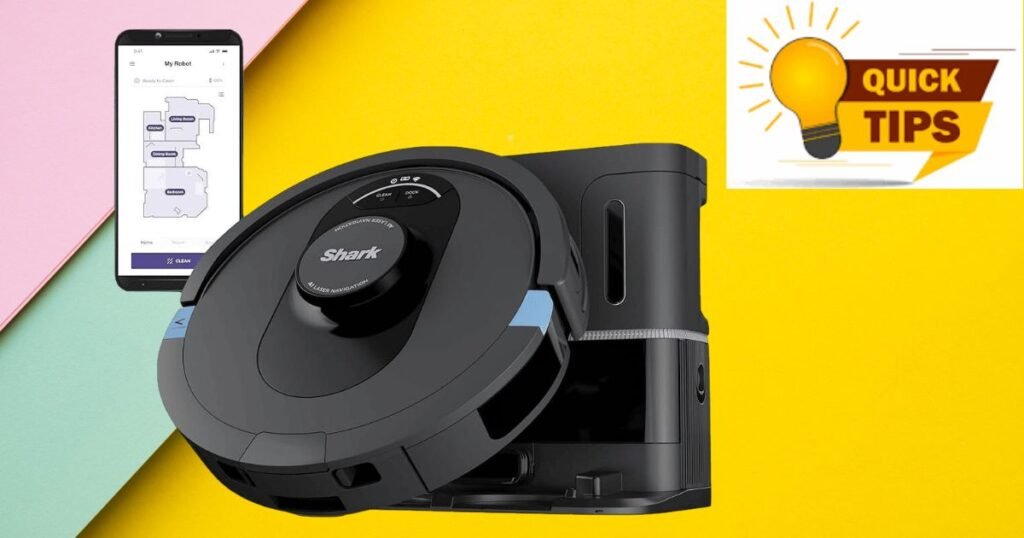
The Shark robot vacuum from SharkNinja is capable of precise home cleaning with its mapping and scheduling features. The Shark robot vacuum is even better thanks to the companion CleanShark app, which makes it easier to operate and maximize its use.
A SharkClean app is available on Google Play and the App Store. The SharkClean app connect Shark robot to WiFi networks easily. If you need to learn how to connect Shark Robot to WiFi, Follow the simple steps below.
You can transform your cleaning routine with enhanced features when you connect Shark Robot to WiFi. A dedicated app would allow you to schedule cleanings, get real-time updates, and even control your robot remotely. Smart and efficient cleaning solutions require this connection.
How to Connect Shark Robot to WiFi network:
Make sure your Shark Robot is ready before beginning the connection process. You should also check your device’s firmware for the latest updates and ensure it has WiFi connectivity. With this initial preparation, a hassle-free connection experience can be assured. How to connect Shark robot to WiFi; the easy steps are below.
Step 1: Download SharkClean, then create an account.
Step 2: Choose Settings by clicking on the three horizontal lines in the top left corner.
Step 3: Make sure your Shark robot vacuum is on and press the Dock and Clean buttons for 15 seconds until the WiFi light flashes.
Step 4: Please choose your Shark robot vacuum model by accessing the SharkClean app.
Step 5: A pop-up screen will appear once you select your WiFi.
Step 6: The Shark robot vacuum will confirm the connection with a solid blue WiFi icon.
Shark Robot Vacuum: Connect it to a New WiFi:

You may also be required to learn how to connect Shark robot to WiFi networks. Consider a few possible scenarios.
Moving a New Home:
When you move to a new home, you will usually have a new WiFi network. You must re-connect Shark Robot to WiFi if you have a new WiFi network. Remove any previous settings before configuring a new WiFi connection.
Upgrading to A Better Router:
Buying a new router is the best solution in this case. You must reconnect your WiFi after installing a new router.
Adding A WiFi Extender for Better Coverage:
A WiFi extender may be needed if your new home is big enough to accommodate one. So, you will also need to connect Shark Robot to WiFi.
Switching Internet Service Provider:
Two reasons to switch internet service providers are slow current service or moving to a new location. Both cases need you to set up a new WiFi connection for the Shark robot vacuum and a new Internet address.
Tips to Ensure a Stable WiFi:

Connection With Shark Robot:
To work properly, Smart Home devices require a stable WiFi connection. Poor internet speed or low bandwidth can affect the efficiency of these devices.
A Shark robot vacuum needs stable WiFi more than any other smart home gadget since it moves around the house. Now that you know how to connect your Shark robot to WiFi, let’s discuss some tips to ensure a stable connection.
WiFi Router Placement:
The location of your WiFi router in your home is of great importance. It would help to always place your WiFi router in the middle of your home to ensure the signal is evenly distributed. Shark robot vacuum cleans when WiFi signals reach every area.
Signal Strength:
Before starting the cleaning process, please check the strength of the WiFi signal. Additionally, the connection might be slow if many people use the internet during peak hours.
When the internet is working correctly, it is always possible to schedule cleaning using the SharkClean app. There are many WiFi signal boosters available on the market!
WiFi Extender:
WiFi signals may only reach some areas when a home is too congested or spacious. It is also true for homes with many floors if the WiFi router is only on the ground floor. As a solution, purchasing a WiFi extender effectively extends the WiFi signal’s range.
Keep your Shark Robot updated:
At times, your WiFi may work fine, but you could experience issues with cleaning. This is likely because the Shark robot vacuum does not have the most recent firmware installed. Make sure the SharkClean app and firmware are always up-to-date.
Wrap Up:
If you are smart, you can efficiently use your Smart Home Devices. If you didn’t know, our article guides you on how to connect Shark robot to WiFi. The guide below aims to simplify the use of the Shark Robot vacuum.
You can connect Shark Robot to WiFi through the Compatible CleanShark app and have more control over your cleaning schedule and precision mapping with the App. In some cases, new WiFi may be necessary, and now you should be able to connect more easily.
Shark Robots can be transformed into smart and efficient companions when connected to WiFi. Make the most of your Shark Robot by following our guide, troubleshooting common issues, and optimizing performance.
Ensure the WiFi connection on the Shark robot vacuum is stable to get the best results.
How to connect Shark Robot to WiFi – FAQs
- How long does it take for my Shark Robot to connect to WiFi?
The process of connecting your Shark Robot usually takes 10-15 minutes, depending on your level of familiarity.
- Can I connect multiple Shark Robots to the same network?
Yes, you can connect multiple Shark Robots to the same WiFi network to increase cleaning efficiency.
- What should I do if my Shark Robot does not connect?
Restart the robot and router if the connection fails. Make sure your WiFi credentials are correct.
- Can I remotely control my Shark Robot after connecting it to WiFi?
Yes! By connecting your Shark Robot to a dedicated app, you will be able to control it from anywhere in the world.
- When connected to WiFi, are automatic updates required?
You can automatically update your Shark Robot to make sure it has the latest features and improvements, enhancing its overall performance.
- Can I connect my Shark Robot to public WiFi networks?
If you want your Shark Robot to operate smoothly and securely, we recommend connecting it to a private, secure WiFi network.

