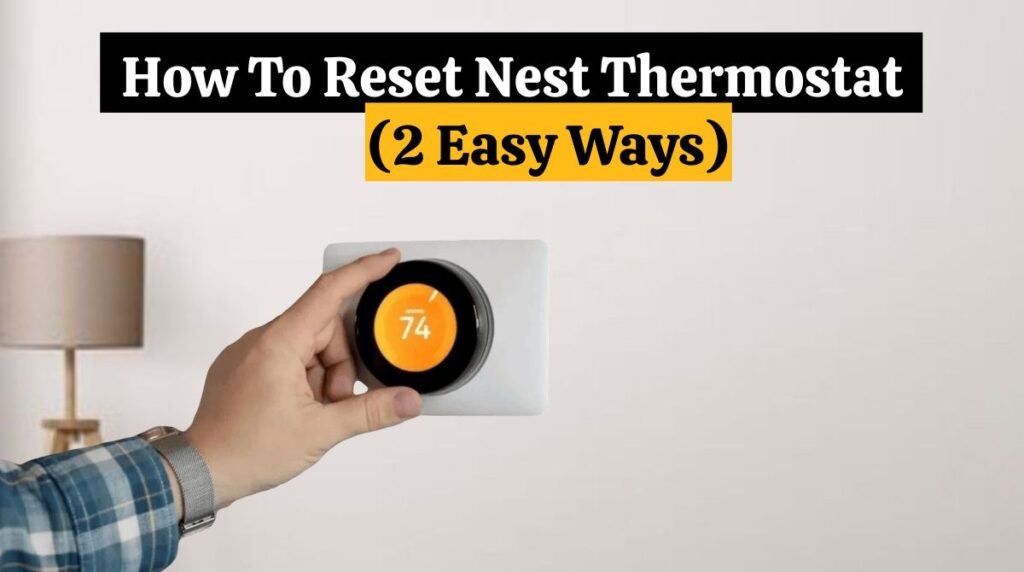
How To Reset Nest Thermostat (2 Easy Method)
Nest Thermostats have revolutionized home climate control, offering efficiency and smart features. Understanding how to reset Nest thermostat is crucial for optimal performance. Resetting a Nest thermostat can be nerve-wracking because there are so many options.
After all, you want to be stuck with a working thermostat while your Home or office gradually gets colder and colder (or warmer and warmer, depending on where you live!).
A reset is often your most effective option if your Nest is turning off and on by itself, not communicating with your Nest mini and other devices, or just not working correctly, a reset is often your most effective option.
The good news is that Nest has taken this into account and made the reset process straightforward. You can reset the Nest thermostat by following these steps:
- Open the Menu on the Nest App, and gently press the thermostat.
- Slide a finger along the ring for Settings.
- Select Settings by pressing the thermostat.
- To reset the thermostat, press the Reset button.
- You can perform a soft reset by choosing Restart or a factory reset by choosing All Settings.
If you want to know more about how to reset the Nest thermostat, I’ll cover the difference between a soft reset and a factory reset. I’ll also cover how to disable Nest’s learning mode.
When You Need To Restart Nest Thermostat:
Is your thermostat display stuck or frozen? Is your thermostat having trouble connecting to WiFi? or is the Nest thermostat “low battery” issue? In this case, you will need to restart your thermostat. If done effectively, your thermostat will return to normal operation.
Restarting your thermostat is as pleasing as restarting any computer system—it retains all current settings, so you don’t have to worry about losing any information.
If the Nest Thermostat battery is damaged or dead, you will need to replace the Nest thermostat battery.
When You Need Reset Nest Thermostat:
You’ll need to reset Nest thermostat if you want to use it in another or a different location. This is also a smart idea if you ever want to give the thermostat to someone else.
Soft Reset Nest Thermostat:

A soft reset will restart your Nest thermostat without deleting settings or preferences. This is very helpful for troubleshooting connection issues or if you recently changed your WiFi settings.
This method can also be used to reset a Nest thermostat after a power outage. To soft Reset the Nest thermostat, follow these steps:
- To open the Menu, gently press the thermostat.
- Slide a finger along the ring to select Settings.
- To select Settings, press the thermostat.
- To reset the thermostat, press the Reset button.
- Select Restart by pressing the button.
It’s that simple! Depending on its model and internet connection, your thermostat may take a couple of minutes to restart.
You may need a factory reset Nest thermostat if you are still experiencing issues even after a restart.
Factory Reset Nest Thermostat:

A factory reset will return your thermostat to its state when shipped from the factory. That means all your personal settings will be deleted and need to be set up again.
To perform the factory reset Nest thermostat, follow these steps:
- Open the Nest App, tap the Menu, and select Settings.
- You can reset a thermostat by tapping on it.
- Tap Remove and confirm. It prepares your thermostat for a factory reset.
- Press the thermostat gently to open the Menu.
- Slide a finger along the ring to select Settings.
- Select Settings on the thermostat.
- Select Reset by pressing the thermostat.
- Press All Settings to select it.
This is an excellent option if you prepare your thermostat to give or sell to someone else.
How To Reset Nest Thermostat’s Auto-Schedule:
A malfunctioning auto-schedule may result in your thermostat turning on and off at inconvenient times throughout the day.
The thermostat’s auto-schedule senses what temperature you prefer throughout the day. A power outage, a recent change in habits, or even a change in the season can throw you off.
The good news is that a quick auto-schedule reset usually fixes things!
Follow these steps to Reset the Nest thermostat’s auto-schedule:
- Turn on the ring to highlight the Settings option and tap on the Nest to select it.
- Select Reset from the Reset screen by turning clockwise.
- Select Auto-Schedule on the next screen by turning the ring.
- Then Select Reset.
- Turn the ring clockwise to confirm you want to reset the auto-schedule.
- You must wait 1-2 minutes for that to reset.
This Reset will remove any temperature schedules you create. You must set up a schedule again if you want to keep it. The Nest can learn your new schedule as you go about your day and make the changes that feel right to you.
How to Reset Nest Thermostat-Specific Settings
You can also reset specific thermostat features instead of a complete reset or restart. Head to the Settings screen to find the specific sections you need to reset
Schedule:
Resetting the Nest Thermostat will erase all information it has learned and saved regarding your schedule. You have to create your own schedule or give your thermostat time to learn a new one.
Network:
Resetting the Nest Thermostat’s network information will erase all stored WiFi information. To use the thermostat remotely, you must enter data from another network.
Account Connection:
A reset of your thermostat’s account connection settings will remove your account connection from the system and list it offline. Without it, you won’t be able to control your thermostat remotely.
Home/Away:
Resetting your thermostat’s Home/Away settings will erase all saved information about your presence and absence at Home. You can do this when you remodel your Home, change your thermostat location, or move to a new location.
Works with Google Assistant Connection:
If you reset your thermostat’s Works With Google Assistant connection, all information between the thermostat and Work With Google Assistant will be erased.
Nest Thermostat not responding or frozen:
Manually restart your thermostat if you are unable to access the Quick View menu.
1. Hold the dial down until the display turns off. It should take about 10 seconds to complete this process. As soon as the device turns off, let go.
2. Press and release the dial to start the boot process (no need to hold).
When everything works properly, a logo appears, followed by normal display functions.
CONCLUSION:
In conclusion, Nest Thermostat users need to know how to reset Nest Thermostat. Utilize these reset methods to optimize performance and address issues with your Nest Thermostat. Your comfort is just a reset away! Depending on your goal, there are a few ways to reset your Nest thermostat. I hope you found this article helpful!
If you’ve tried all this and are still having trouble, it may be worth contacting Nest support. Google offers phone and chat options through their support portal, and both are available 24/7.
FREQUENTLY ASKED QUESTIONS (FAQS)
• How can I reset the PIN on my Nest Thermostat?
You can remove the PIN on your Nest thermostat by going to Settings > Unlock in the Nest app on your phone. On the Settings screen, select Lock to set a new PIN.
• How can I reset my Nest Thermostat schedule?
Go to Settings > Reset > Auto-Schedule on the Nest Thermostat. Alternatively, you can open the Nest app on your mobile device, choose your Nest Thermostat, then go to Settings > Auto-Schedule and turn it off.
• How can I connect my Nest Thermostat to Google Home?
Select Home Control> Devices > Plus (+) > Nest from the Google Assistant app, then tap on your profile icon. You can then connect your Nest to Google Home. Use commands like “Hey Google, set the temperature at 72 degrees” or “Raise the temperature by 2 degrees” to control the thermostat.
• Is my Nest thermostat charged?
When your Nest Thermostat is charging, the red light should blink. When the thermostat stops blinking, it is fully charged.