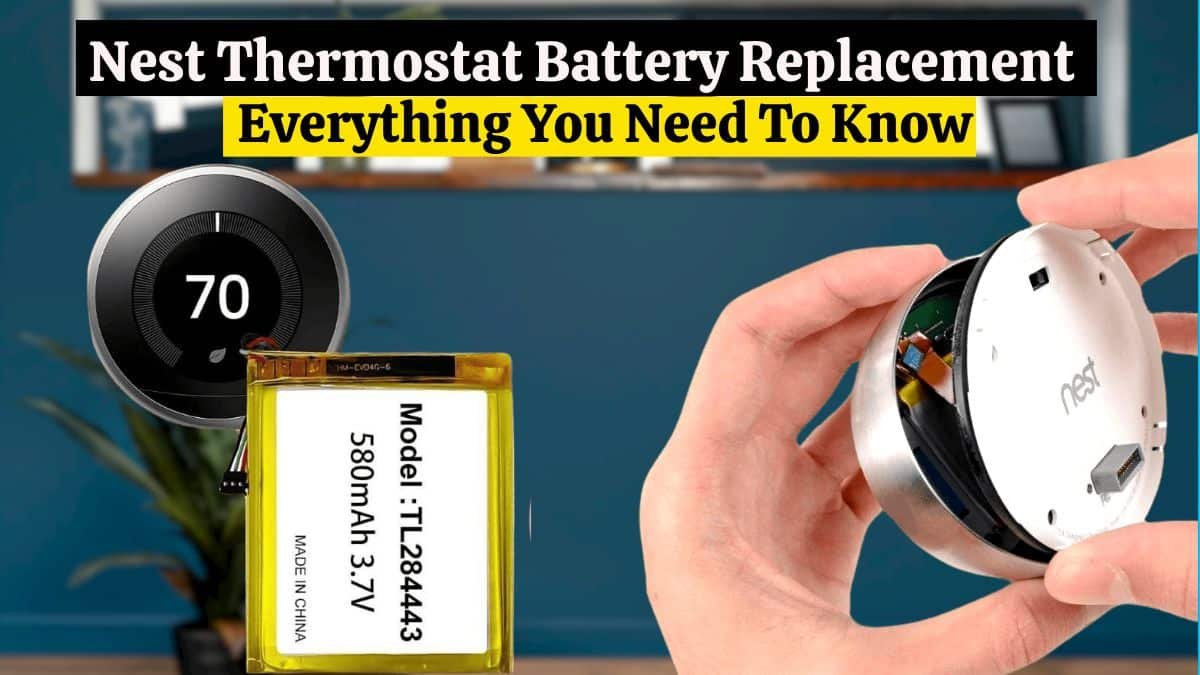
Welcome to the comprehensive Nest Thermostat Battery Replacement guide – Everything You Need To Know. A Nest thermostat provides comfort and convenience by controlling your HVAC system in your Smart Home. Think about when the thermostat shows erratic behavior, is not working correctly, does not maintain the defined temperature, or the screen goes black. All these scenarios can be caused by low Nest thermostat batteries, which you must check and replace immediately.
| Quick Fix: You can easily replace a Nest thermostat battery if you know the model and follow the instructions correctly. You can replace the thermostat battery by removing it from the wall and disconnecting it with a PCB. With the battery pull tab, remove the old battery and replace it with a new one. |
Protect the PCB; when you replace the batteries, you don’t have to pull any tabs other than the battery. Read the detailed guide below if you need help with how to proceed.
Nest Thermostat Battery Replacement Method:
Do you have the Nest thermostat E installed at your house and need to get accurate results? Replace the batteries if the device is over two years old!
Nest Thermostat E has a translucent screen that measures 8cm in diameter, one of the manufacturer’s best-selling products. Nest thermostat E batteries must be replaced by removing the PCB and pulling the battery. It is moderately complex. You should perform all steps with extra care and attention to avoid damaging the PCB.
How to replace the batteries in the Nest thermostat E model? If you want to know, follow the step-by-step guide below:
Step 1: Remove the cover:
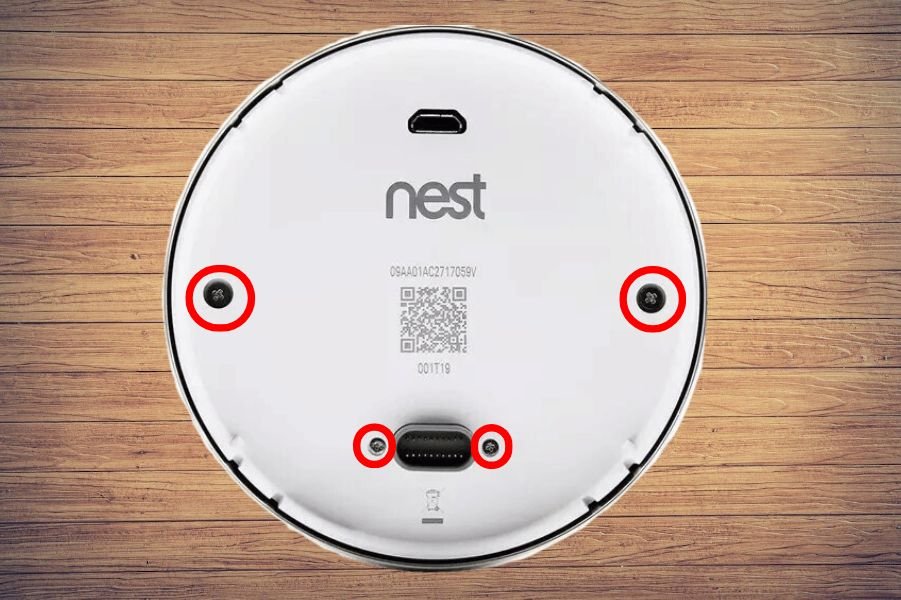
Before Nest thermostat battery replacement, you must carefully remove the device from the wall without damaging it. After this, Detach the back cover by unscrewing it from the back.
Step 2: Open by twisting:
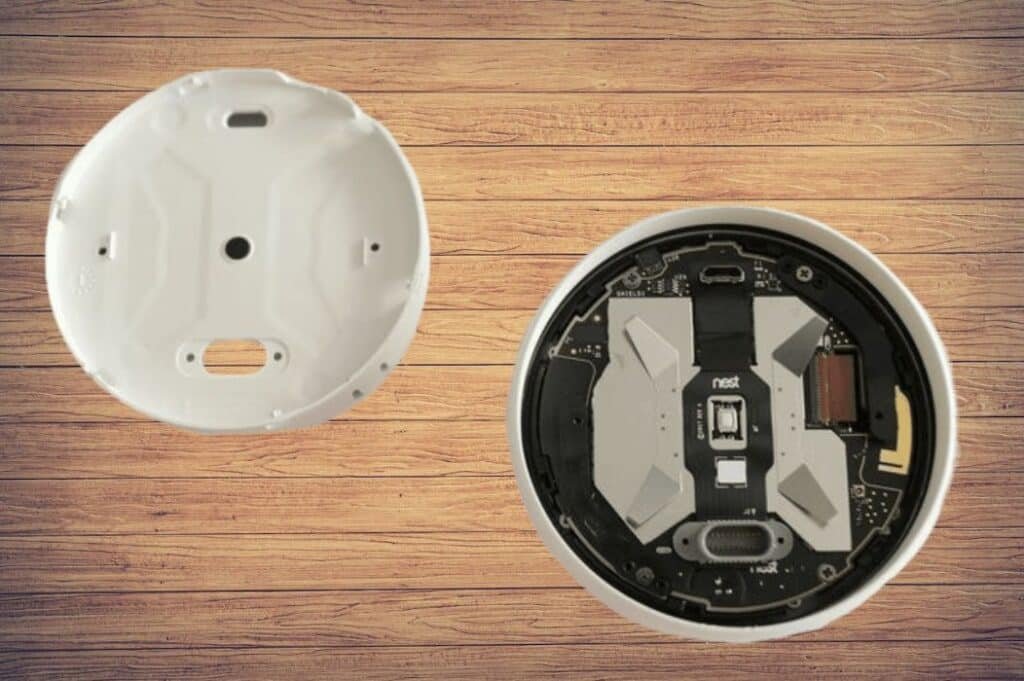
You must twist and turn the device’s back cover for the Nest thermostat E model.
| Note: The cover should not be pulled immediately after unscrewing it, as it is held in place by the clips underneath. As shown in the image, it must be turned before removing. |
Step 3: Remove the PCB:
When the cover has been opened, disconnect the PCB from the device. For the PCB to be removed from the body, you will need to unscrew four more screws.
Step 4: Replace the Battery:
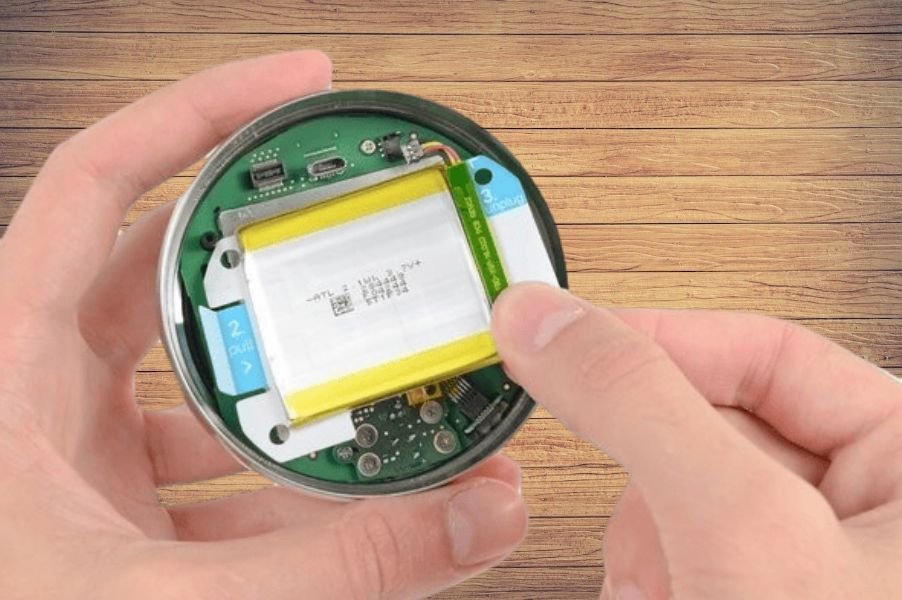
Under the PCB, you can see the battery. Nest Thermostat E has a 2.8mm battery that can be pulled out with the battery pull tabs. Replace the battery with a new one. As the battery connector is fragile and sensitive, it is recommended not to pull or push the batteries.
| Note: You don’t need a screwdriver or other tools to remove the battery. It only takes a few seconds to pull the battery pull tag, and then everything is ready. |
Nest 2nd Generation Nest Thermostat Battery Replacement:
The Nest thermostat model might need to be clarified to some of you. Here’s what the 2nd generation looks like! Nest, 2nd Generation thermostats have an illuminated screen with a diameter of 4.57cm and stainless steel rings. Adaptive learning and programmability are built into the Nest 2nd generation thermostat Smart Devices, which means more battery consumption, so you will need to replace the batteries after a year. Do you know about a Nest thermostat battery replacement? No worries – here’s a step-by-step guide:
Step 1: Detach from the wall:
First, remove the thermostat from the wall Before the Nest thermostat battery replacement. The metal ring provides a firm grip on the body, making removing the 2nd generation devices easy. Pull the thermostat by grasping the metal ring.
Step 2: Remove the cover:
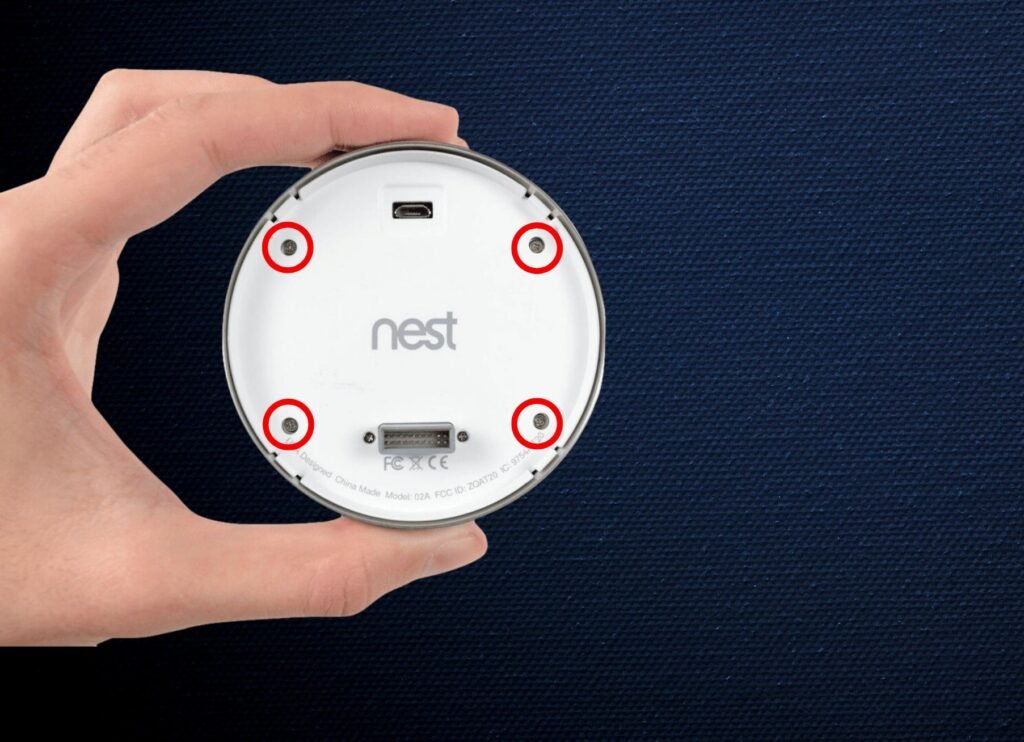
The next step is to take off the cover! To unscrew the 6mm screws at the back, you will need a Phillips #0 screwdriver. Lifting the cover directly after opening the screws is more accessible than twisting and turning it.
| Note: Be careful not to remove the cover with too much force because the lid has a wire connected to the primary circuit. |
Step 3: Disconnect the Connection:
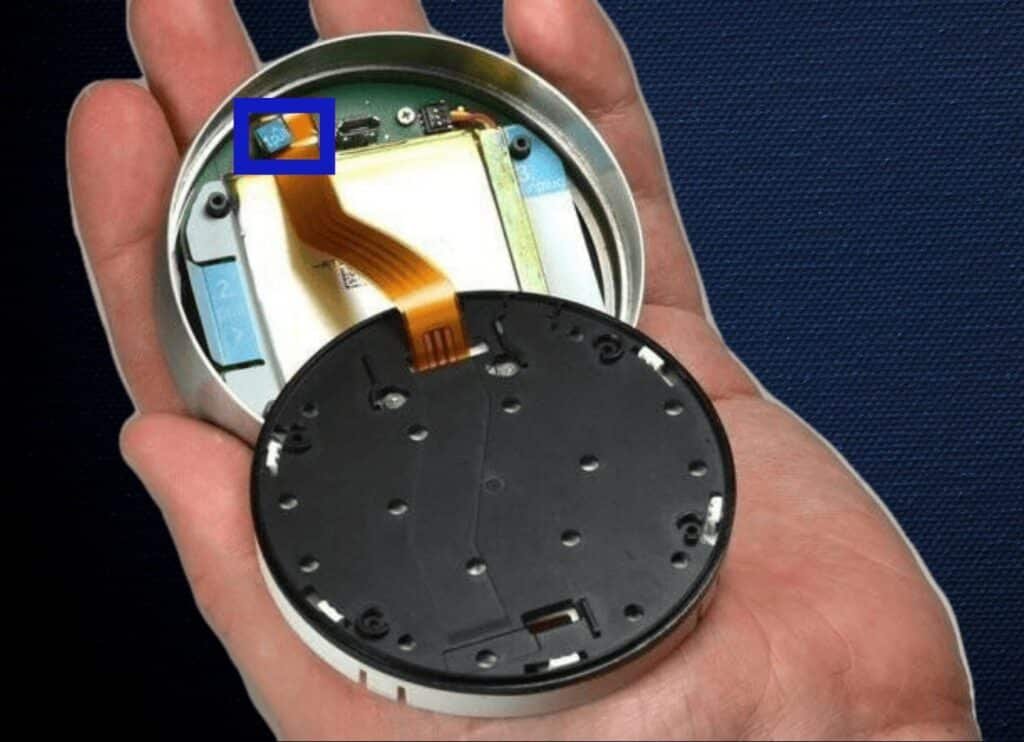
There is a blue tag with the connector at the end of the ribbon. With your fingers, pull the blue tag away from the motherboard.
Step 4: Take the battery out:
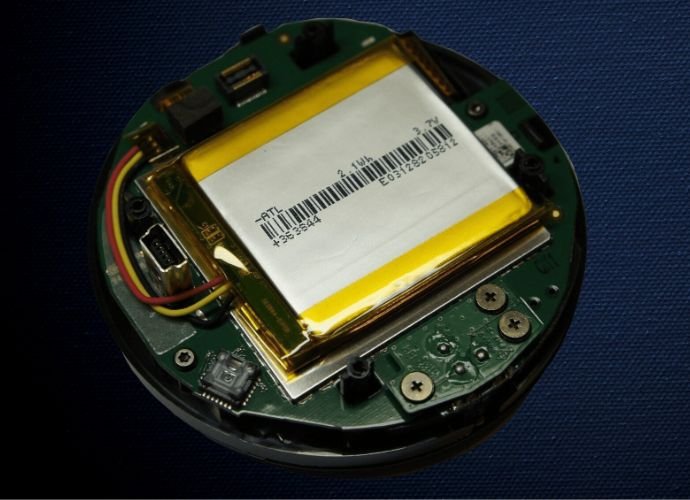
A second blue tag with “2” will be indicated underneath. The battery should be removed by pulling the tag. If your finger does not reach the tag, you may need to use a tweezer.
Step 5: Replace the Battery:
After removing the tag, disconnect the battery from tag “3”. You should unplug tag #3 and remove the battery to replace it with a new one.
Will the Nest Thermostat Battery not work after replacement? Try These Solutions!
Nest thermostat battery replacement only sometimes resolves the issue. There is a possibility that the battery of your Nest thermostat is not charging up, and you should check the thermostat for any errors. Here are a few mistakes and their solutions!
Check battery connection:
Ensure the C-wire is appropriately connected to the Nest thermostat if the thermostat is connected via C-wire. Ensure that the battery is in place and the tags are attached if the device is running on the battery.
Troubleshoot:
An unknown software error may also cause a blank screen, and you can fix this by rebooting the device. Usually, thermostat errors can be resolved by rebooting, an automatic troubleshooting action.
Conclusion:
The Nest thermostat may exhibit abnormal behavior, including black screens, delays in operations, and sluggish performance. All these scenarios refer to low or dead batteries; Nest thermostat battery replacement is the only option. Usually, Batteries need to be replaced every two years. But sometimes, programmability and continuous Wi-Fi connectivity can damage them more.
It is important to keep your Nest Thermostat’s firmware up-to-date to improve performance and extend battery life. Maintain optimal temperature settings to extend the battery life of your Nest Thermostat.
Batteries can be replaced by unscrewing the back cover, removing the battery from the pull tag, and replacing it with a new one. Nest thermostat battery replacement requires utmost care and attention to avoid damaging the PCB.

