Arlo Camera Setup – A Comprehensive Guide With Easy Steps
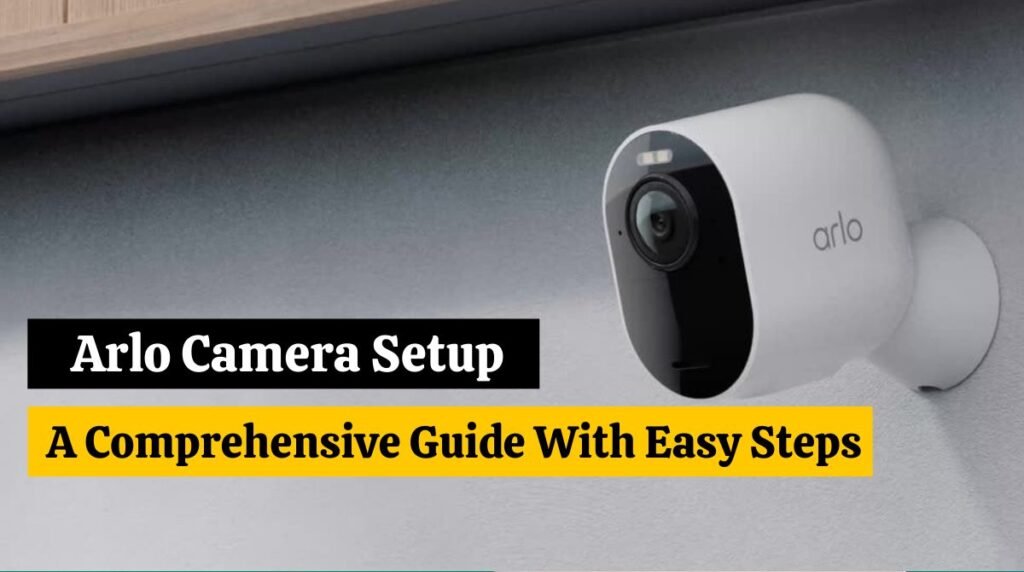
The Arlo Camera Setup is a simple process that ensures the security of your home. This guide will simplify the setup process for anyone, whether they’re tech enthusiasts or beginners.
The Arlo security cameras are increasingly preferred for home and commercial use. Arlo cameras become a top choice for users because these cameras come with several features. This blog is best for you if you have also purchased the Arlo camera setup for your property and are looking for help setting things up—step-by-step instructions for Arlo Camera Setup.
Preparation before starting:
Arlo Camera Setup for wired cameras is easy. Before starting, you will need a few items:
- Arlo Base Station.
- A reliable power source.
- Power adapter and USB charging cable.
- WiFi network.
- Smartphone/Computer.
Once you have these items, you can set up the Arlo camera.
Setup of a wired Arlo Camera:
Connect the USB cable and power adapter to set up the Arlo wired camera. Connect this setup to a power outlet and attach the micro-USB cable to your camera. Now turn on the Arlo camera by turning on the power supply.
Read this article to learn How to set up Blink Outdoor Camera.
Setup a wire-free Arlo Camera:
In the case of a wire-free Arlo camera, you can use batteries to power your Arlo camera. Insert the batteries into the housing by opening the outer camera casing and Closing the case. Now turn on the Arlo camera by pressing the button on the top of the camera.
Read this article to learn Ring Floodlight Cam Installation (13 Easy Steps).
Arlo Camera Setup without a base station:
You can set up your Arlo Camera by downloading and installing the Arlo App on your smartphone. You will download the Arlo app using both Play Store and IOS.
- Open the Google Play Store or Apple Store.
- Type Arlo in the search bar and wait for search results.
- Tap on the Arlo result on the top.
- To install the Arlo App, tap on the Download button.
Once installed, you can set up the Arlo camera. If you have the app installed already, check if it is the latest version.
Create an Arlo Account:
- Launch the Arlo App on your smartphone and tap on Create Account
- Tap Continue after entering the required information.
- You will receive an email with a link to activate your account. Click on your email inbox and click on the same to activate your Arlo account.
- Once the account is verified, you can proceed with Arlo Camera Setup.
Add your Arlo camera to the Arlo App:
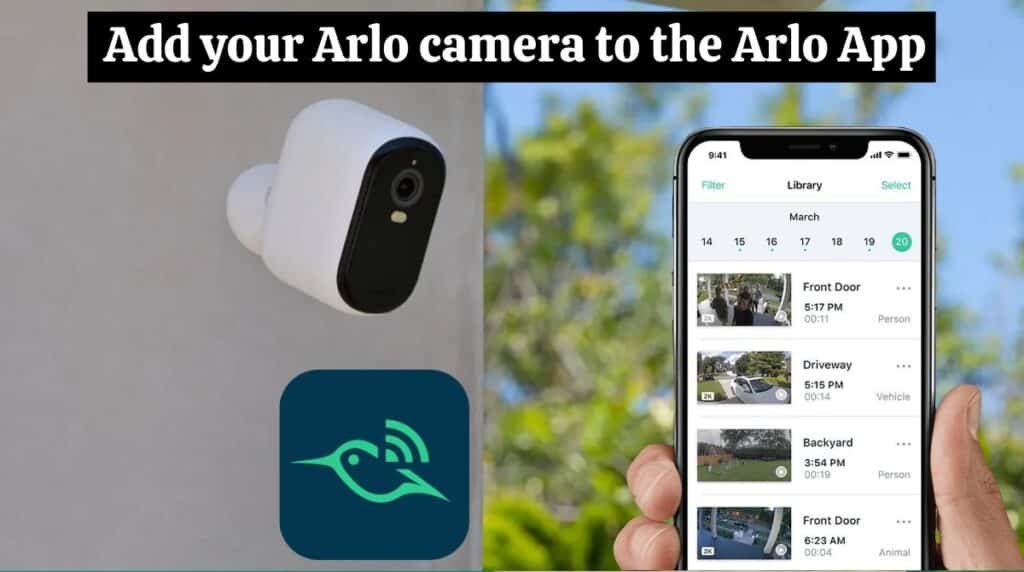
1. Log in to your Arlo Account on the Arlo App.
2. Tap on the Add (+) button at the top of the screen.
3. Click on the “My Devices” option and select the Arlo Camera model you wish to add.
4. Tap on a particular model’s name and tap on Continue.
5. Follow the app instructions to connect to the WiFi network. Type in the WiFi name and password.
6. The app will ask you to scan the QR code on the screen using your camera when WiFi is connected. You will hear a chime after scanning.
Install Arlo Camera Setup:
You can now mount your Arlo Security Camera Setup 6-7 feet above the ground. You can get maximum coverage from this height and features like motion detection will work, too. You can also keep your camera in a cupboard or shelf If you have a camera with built-in stands. It is easier to position and focus the camera by mounting it on the wall. You can install your camera on the wall with magnetic and outdoor mounts.
Looking for information on Ring Camera Installation. Read this article to learn How to Install Ring Camera (2 in 1)-A Comprehensive Guide.
Arlo Camera Video Mode:
Several options for your Arlo Camera setup are available, including Wide, Standard, and Full View.
- Go to the Settings menu on your Arlo App and select My Devices
- Choose the camera for which you wish to adjust the mode.
- Select Video Settings again and choose Video Mode.
- Select the mode you want here, and you’re done.
Adjust the Field of View of Arlo Camera:
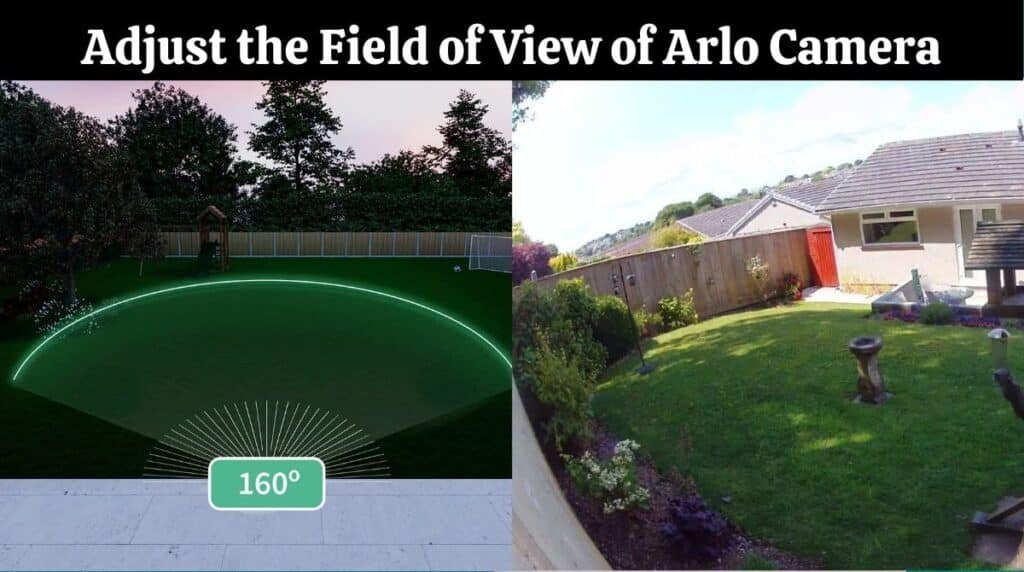
Though most Arlo Camera Setups have a wide field of view, you can always adjust it to suit your preferences. This will also aid in more accurate motion detection, receiving notifications, and trigger recording. Here are some steps to configure the camera positioning settings in the app:
- Open the Arlo App and head to Settings.
- Select My Devices and choose the camera settings you wish to edit.
- On the next screen, select Device Utilities and then choose Camera Positioning
- You can adjust the camera position and angle while looking at the live view in the Arlo app. This is to see if it covers all the areas you want.
Selecting motion zones in Arlo Camera Setup:
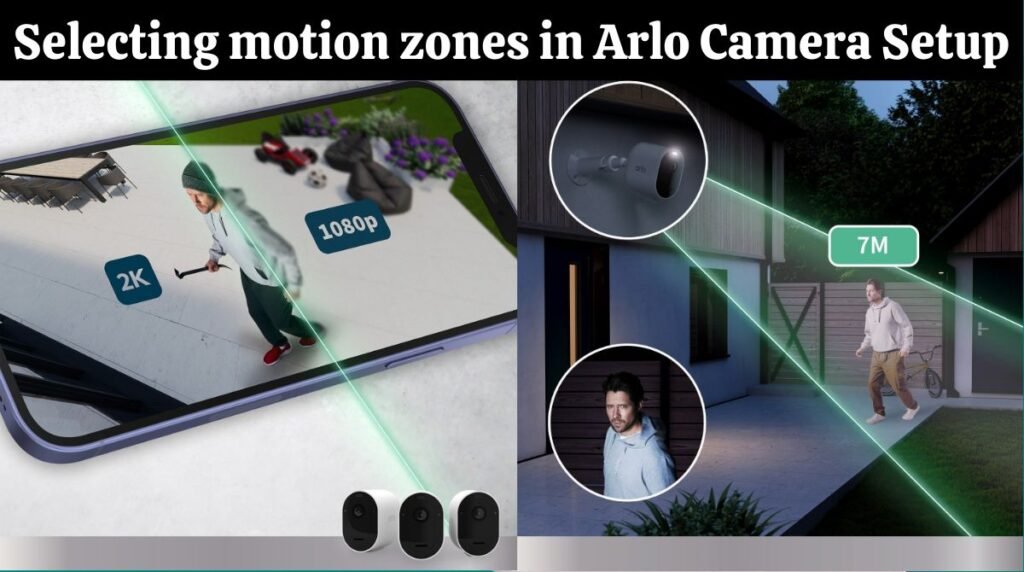
The video mode settings can be finalized by selecting Passive or Adjustable motion zones to inform your camera where and what not to record. Here are some simple steps you can follow to add activity zones:
- Open the Arlo App on your smartphone.
- Click on the Settings menu and select My Devices
- Select Activity Zones and hit the + sign to add a zone.
- Zones can be adjusted to cover different areas, and names can be assigned based on location.
You must update the motion zones if you change the camera position. Failure to do so will render the feature useless, as you won’t receive motion alerts for essential areas.
Testing Motion Detection on an Arlo Camera:
Your Arlo camera setup uses motion to trigger recording. With the Arlo App, you can adjust the motion sensitivity to see how effective this feature is:
1. Launch the Arlo App on your smartphone.
2. Go to the Settings menu and select My Devices
3. Select the Device Utilities option and tap on the Motion Detection Test
4. In this mode, the LED on the camera’s top turns amber with no motion. When you move in front of the camera, the LED color will change to red, and motion is detected.
5. you can adjust the motion sensitivity according to your preferences using the slider between High and Low.
6. You can exit the app after making the adjustments.
7. Finally, your Arlo camera setup, and start receiving notifications and video recordings on your app. You can select the camera mode using the app options. You can choose what works for you from the Armed, Disarmed, Scheduled, Geofencing, and Custom options. You can also hit the Add a Mode button to complete the Arlo camera setup.
Conclusion
Arlo Camera Setup provides robust security to your space. Arlo provides a user-friendly and reliable solution for safeguarding what matters most, from installation to maintenance.
With Arlo, you gain peace of mind as well as security for your property. Experience the next level of security with the Arlo camera setup. If you are facing an issue with the Arlo camera setup, contact Arlo Customer Support.
FAQs:
- How long does it take to set up Arlo cameras?
Arlo cameras are easy to set up and usually take 15 to 30 minutes. Step-by-step instructions are provided in the user-friendly app.
- Can I monitor my Arlo cameras remotely?
Yes, absolutely! Using the Arlo app, you can monitor your cameras from anywhere.
- Are Arlo cameras compatible with smart home devices?
Yes, Arlo cameras can be integrated with a variety of smart home devices for a more integrated and connected security system.
- Can I use Arlo cameras without a subscription plan?
You can still use and enjoy basic Arlo functionality without a subscription, even though Arlo offers subscription plans with additional features.