
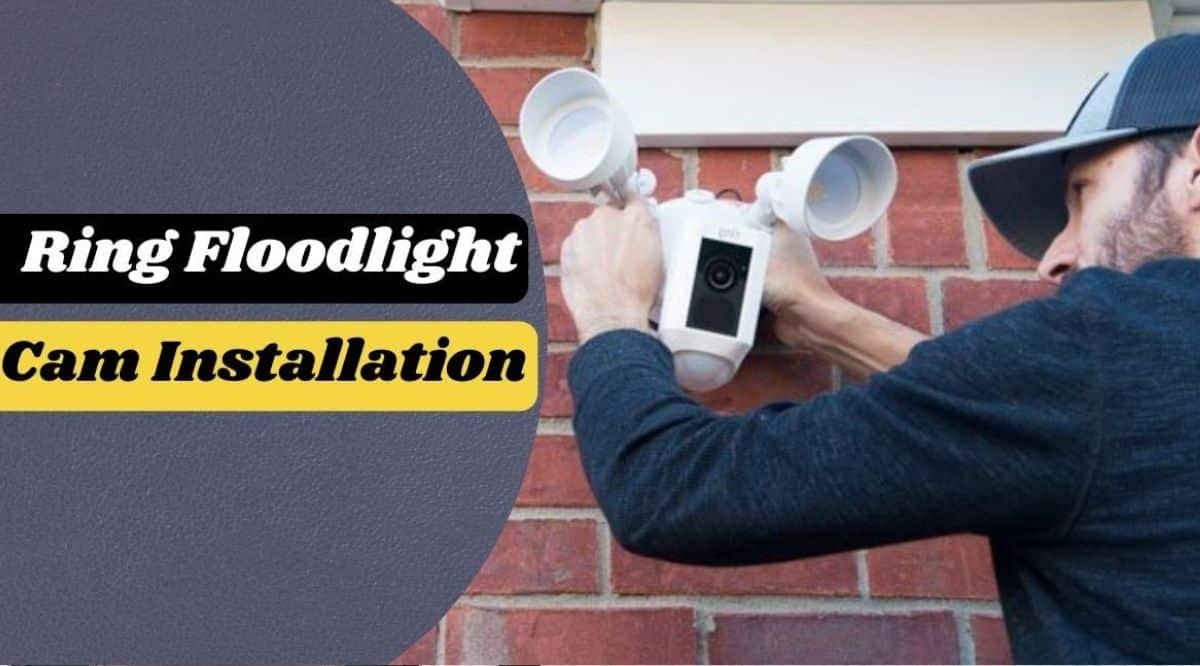
In terms of home security, the Ring Floodlight Cam from Ring Company is a game-changer. The Ring Floodlight Cam is an excellent choice if you want to enhance the security around your home. Providing you with a comprehensive solution for outdoor security, this innovative device integrates the functionality of a high-definition security camera with powerful floodlights.
This guide will walk you through the Ring Floodlight Cam Installation process, ensuring a seamless setup. Our detailed guide will help you securely and stress-free with Ring Floodlight Cam Installation, whether you’re a tech enthusiast or a DIY novice.
How To Install Ring Floodlight Cam:
You can enhance your home security by Ring Floodlight Cam installation. You’ll learn how to install Ring Floodlight Cam in this comprehensive guide. You’ll find everything you need to make your home safer, from essential tools to expert tips. Follow the step-by-step instructions for seamless and easy Ring Floodlight Cam installation.
1. Check Out The Box Contents:
Before Ring Floodlight Cam Installation, ensure that you have all the components in the Ring Floodlight Cam package. Most floodlight kits contain the floodlight cam, the mounting bracket, wire nuts, screws, and a user guide. Installing will be more efficient if you have all the components available.
2. Locate Your Mounting Location:
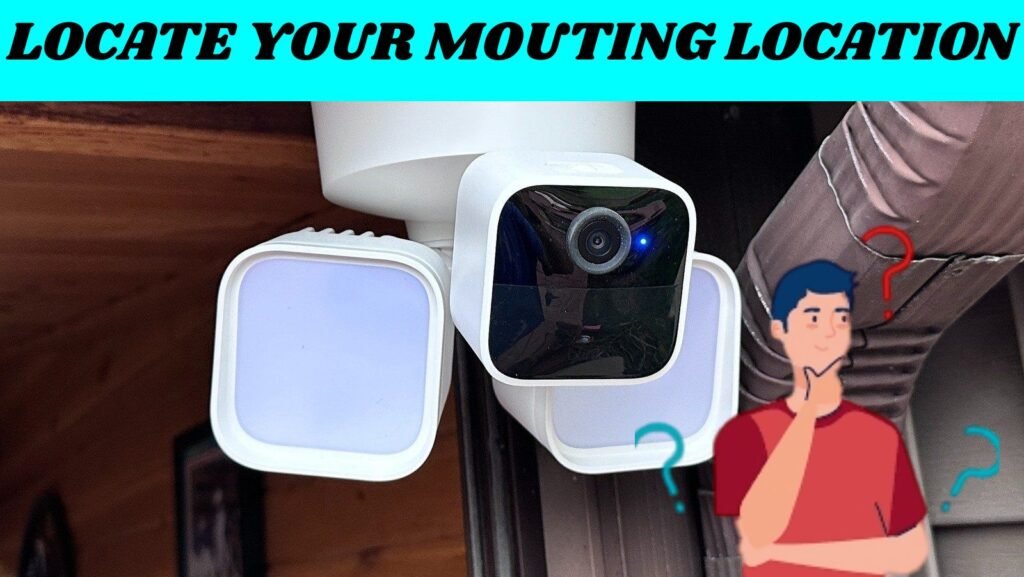
You must choose the right location for your Ring Floodlight Cam Installation for it to be effective. Ideally, it would help if you chose an area near your main entry points or any vulnerable places on your property. Ensure no objects like trees or walls obstruct the camera’s view. Having a clear and unobstructed view for optimal surveillance coverage is essential.
3. Tools Preparation For Ring Floodlight Cam Installation:
The first thing for Ring floodlight Cam installation is preparing the necessary tools. You will need a screwdriver, a drill with the appropriate bits, a wire stripper, and a ladder. The installation process will be more straightforward, and errors will be less likely to occur using the right tools.
Looking for information on Blink outdoor camera Setup? Read this.
4. Turn Off The Power:
During Ring floodlight Cam installation, safety is paramount. Switch off the power supply to the existing fixture or the area where you plan to install the Ring Floodlight Cam before working with electrical wiring. Check the wires with a voltage tester to ensure no electrical current is flowing.
5. Mount The Mounting Bracket:
After the area has been cleared, attach the mounting bracket to the electrical box using the screws that are provided with the bracket. Make sure the bracket is attached and level.
6. Connect The Wires:
Ensure that the wires from the electrical box are connected to the corresponding wires on the Ring Floodlight Cam. Wrap the connections with electrical tape to protect and secure them with wire nuts.
7. Keep Your Floodlight Cam Secure :
Make sure the Ring Floodlight Cam is aligned with the mounting bracket and secure it with the provided screws. Ensure the device is positioned correctly to capture the desired field of view.
8. Install and Setup Ring App:
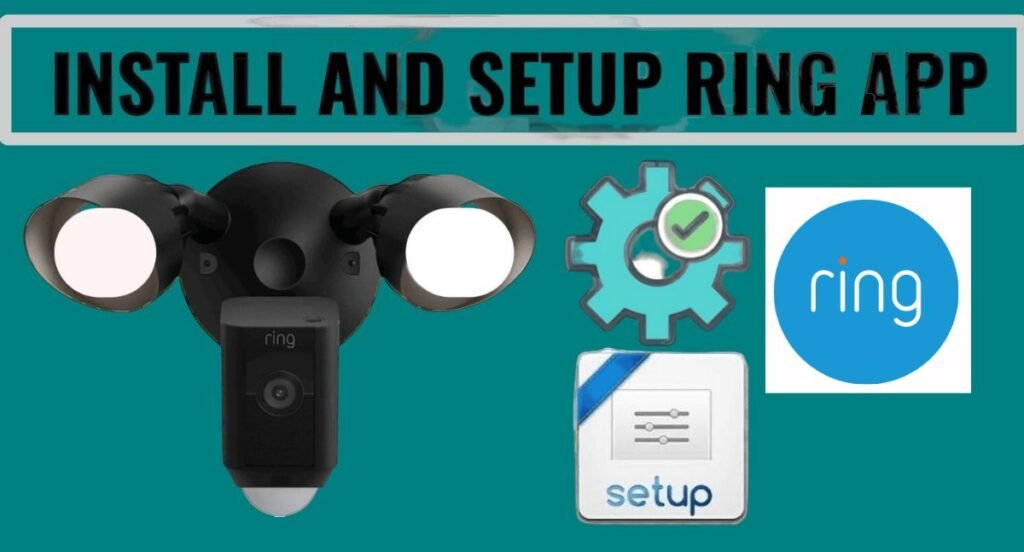
Download and install the Ring App on your smartphone or tablet to control and monitor your Ring Floodlight Cam. Create an account and add the device to your network following the instructions in the app.
Set up the Ring Floodlight Cam app and customize its settings. Using the device, you can adjust motion sensitivity, customize motion zones, set up alerts, and more.
The Ring Floodlight Cam should be tested before the installation is considered complete. Activate the motion sensors and verify that the floodlights and camera work correctly.
You can integrate other Ring devices, such as doorbells and security cameras, to create a comprehensive home security system through the Ring app.
9. Maintenance and Troubleshoot Tips:
Regularly inspect and clean the lenses and sensors of your Ring Floodlight Cam to ensure optimal performance. To keep your device up-to-date, check the Ring app for software updates.
Have problems with your Ring Floodlight Cam? Check the Ring website or contact Ring’s customer support for troubleshooting guides.
If you have problems with motion detection on your Blink camera, you will also need to read this article Blink Camera Not Detecting Motion (7 Easy Steps)
10. Privacy and Security Enhancements:
The privacy of security devices is crucial. Install the Ring Floodlight Cam in a way that respects your neighbors’ privacy and adheres to local surveillance camera regulations. Avoid capturing unnecessary footage by adjusting the camera’s field of view to focus solely on your property.
11. Sharing and Remote Access:
Remote accessibility is one of the critical advantages of the Ring Floodlight Cam. The Ring app allows you to access the live stream and recorded footage from anywhere using your smartphone or tablet. In addition, you can share access with trusted family members or neighbors to monitor your home’s security together.
12. Connecting Other Smart Home Devices:
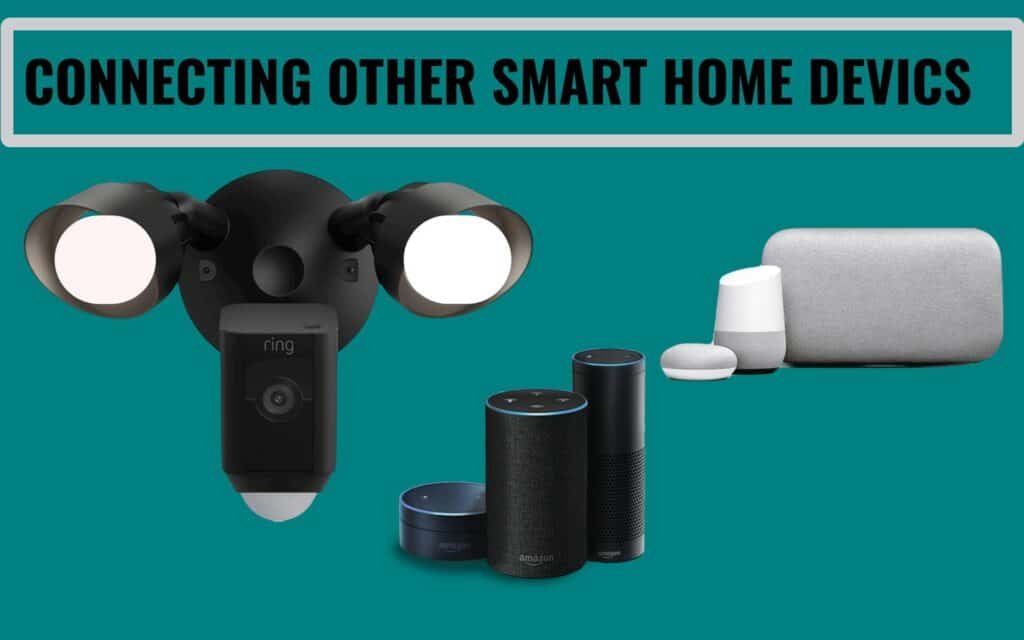
Make smart home experiences seamless by integrating Ring Floodlight Cams with Amazon Alexa or Google Assistant-compatible smart home systems. This integration lets you control the camera using voice commands and integrate it into automated processes.
13. Updates and Support:
Ring regularly releases firmware updates and feature enhancements for their devices. Keep your Ring Floodlight Cam updated to access the latest features, improvements, and security patches.
Conclusion:
Ring floodlight Cam installation is easy. Gather the necessary tools, assess the mounting location, and follow the step-by-step instructions.
The Ring floodlight Cam installation can improve your home’s security, and we hope you now understand how to use it. Security cameras with high-definition and powerful floodlights will enhance your home’s safety and security.
Using the user-friendly interface, you can adjust settings, access footage remotely, and integrate the Ring Floodlight Cam with other smart home devices. One of its best features is a reliable outdoor security system with versatile power options and compatibility with different setups.
Frequently Asked Questions (FAQs)
• Is it possible to install the Ring Floodlight Cam myself?
Yes, the installation process has been designed for DIY enthusiasts to install by themselves, with clear instructions provided.
• How do I adjust the floodlights’ brightness?
YES, with the Ring app, you can adjust the brightness level of the Ring.
• Night vision is available on the Ring Floodlight Cam?
Yes, the camera is equipped with infrared night vision to provide clear footage in low-light conditions.
• Do I have remote access to the recorded footage?
Yes, viewing recorded footage and receiving real-time alerts is possible when you install the Ring application on your smartphone.
• Ring Floodlight Cam weatherproof?
Yes, the device has indeed been designed to withstand various weather conditions, such as rain, snow, and heat.