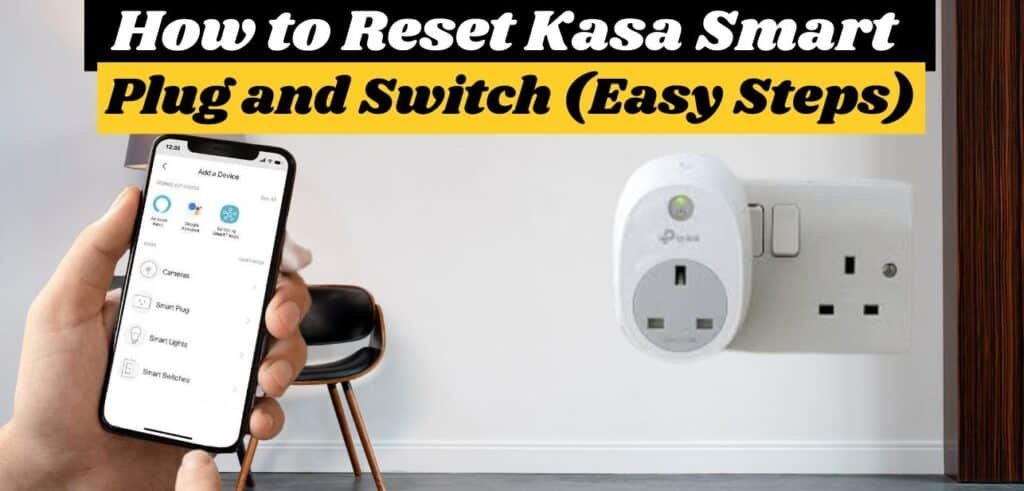
In this guide, we will learn How to Reset Kasa Smart Plug and Switch and set it up again. Kasa smart plugs are popular among TP-Link fans. They allow you to control and schedule power to your devices. Occasionally, it is necessary to reset Kasa smart plug. Resetting the Kasa smart plug can help troubleshoot connectivity and functionality issues.
A soft reset that does not erase the current settings and a factory reset that erases all your customized settings and returns the device to factory settings.
1. How to Reset Kasa Smart Plug and Switch without losing configuration settings:
To Reset Kasa Smart Plug and Switch without losing configuration settings, Press and hold the reset button for 5 seconds or until the Wi-Fi LED flashes orange and green to start the app configuration process.
Note: For HS105, the Wi-Fi LED would flash orange and blue
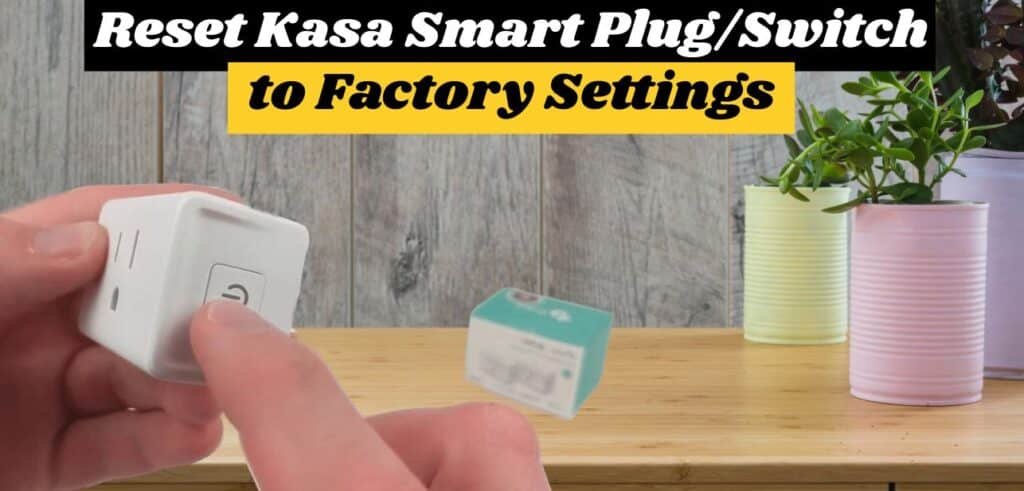
2. Reset Kasa Smart Plug/Switch to Factory Settings:

To Reset the Kasa Smart Plug/Switch to Factory Settings, Press and hold the reset button until the Wi-Fi LED flashes orange quickly (about 10 seconds) to reset the Smart Switch to factory settings. For the HS300/KP303, the control button functions as both the on/off and reset buttons.
- Press the control button to switch the corresponding socket on or off.
- Press and hold a control button for 5 seconds to re-enter setup mode for the corresponding socket.
- Press and hold a control button for 10 seconds to reset the corresponding socket to factory settings.
Note: The main switch on the rear panel turns your Smart Power Strip on or off.
Note: If you cannot find the Reset button, please go to our official web website, find the model number of your device, and go to the Tp-Link product’s support page to consult or download the user manual for more details.
What should I do if the Kasa smart plug or switch cannot turn the device on/off?
If the smart Plug or switch can turn itself on/off but cannot turn the devices connected to it on or off, refer to the corresponding product for troubleshooting.
For Kasa Smart Switch:
Note: If the device has the other hardware button, keep that button in “On” status.
- Ensure you can manually turn the device on/off by pressing its hardware button.
- Try plugging in another device, such as a lamp or a light.
- Make sure the wiring connection is correct and not spoiled.
- If you are unsure, consult a professional electrician.
- Install another switch with the same wiring in the same location or install this switch in another location to verify.
If the above suggestions still cannot resolve the problem, gather the following information:
- The picture of the wiring (record the name of each wiring).
- The model and power consumption of the device connected to a smart plug.
- On the switch itself, you can see the light status.
Contact TP-Link support for further assistance based on the results of the suggestions above.
For Kasa Smart Plug:
Note: Keep the other hardware button on if the device has one.
- Ensure that the device can be switched on and off manually.
- Try the smart Plug in a different socket.
- Try plugging in another device, such as a lamp or a light.
If the above suggestions still cannot resolve the problem, gather the following information:
- The model and power consumption of the device connected to the Smart Plug
- On the switch itself, you can see the light status.
Contact TP-Link support for further assistance based on the results of the suggestions above.
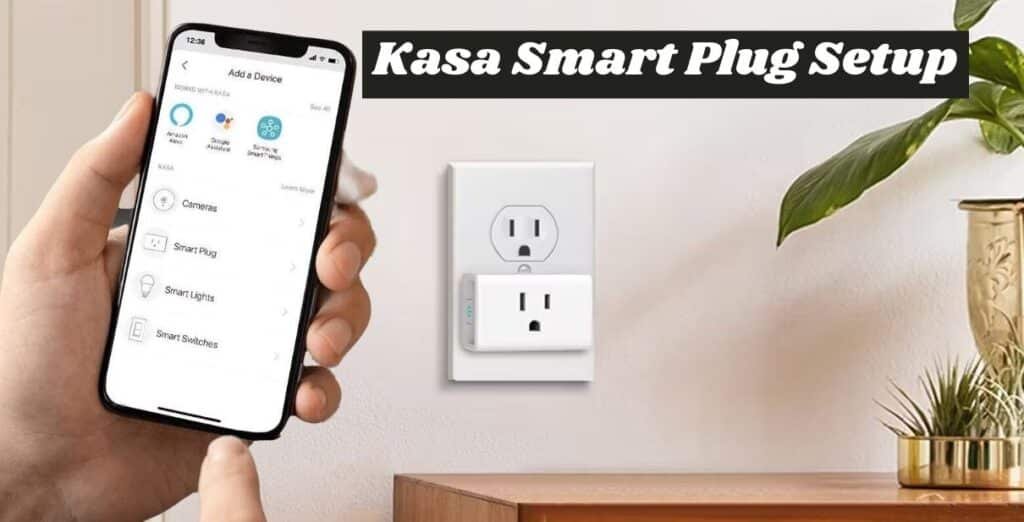
Kasa Smart Plug Setup With App:

TP-Link smart devices can be controlled locally and remotely by the Kasa App. We can quickly turn our homes into smart homes by doing this. After resetting Kasa smart plug and switch, this article explains how to connect the TP-Link Kasa smart plug and switch to your home network. You must first enable “Local Network” on your Apple device if you have IOS 14 or later.
Before we start:
- On your Android or iPhone, download the Kasa Smart App.
- Connect your smartphone to the Wi-Fi (2.4 GHz only).
- Plug your Smart Plug into a wall socket.
Here, we take HS100, for example.
Kasa Smart Plug Setup With The Kasa App:
After reset Kasa smart plug and switch, you can easily set up your Kasa smart plug and switch By following these simple steps.
• Open the Kasa app by logging in.
• Sign up for an account if you don’t have one yet.
• Log in to the Kasa app with your cloud account.
• Add your Smart Plug to the Kasa APP. Tap “+” and “Add a device,” then click “Smart plug” and choose an icon based on your model number.
• Follow the instructions on the Kasa app to turn on the HS100 and wait for the Wi-Fi light to flash orange and green. If the light does not flash amber and green, reset the HS100 according to the user manual/quick installation guide.
• You will need to connect your phone to the Smart Plug Wi-Fi. This step differs between Android phones and iOS phones.
For Android: Kasa will automatically search for your Kasa Cam, which will take about a minute. If you have a problem with this step, go to Settings->Wi-Fi on your smartphone and manually connect to the HS100’s Wi-Fi network (same as iOS).
For iOS: You need to connect to HS100’s Wi-Fi network manually, go to Settings->Wi-Fi on your smartphone and connect to HS100’s Wi-Fi network (which is called TP- LINK_Smart Plug_XXXX), then return to the Kasa app to continue the installation process.
• Connect the smart Plug to your home Wi-Fi network. Here, we chose “Deco M5” as our home wireless network. If you can’t find your home network in the Wi-Fi list, click “Connect to other networks” at the bottom, then manually enter your home network’s SSID and password. Your smart Plug will be connected to your home network After this step.
• Name your smart Plug. Like Living Room, Lamp, etc.
• Customize an icon for this Smart Plug. We can choose an icon from the list, choose from the “Albums” of your smartphone or take a photo. Then enjoy your smart Plug.
• Click the Smart Plug icon, and you will see a page below where you can configure advanced settings such as Schedule/Away/Timer.
• Tap Settings to enter the Device Settings interface, click “Name & Icon” to edit the name and icon of the smart Plug, and click “Device Info” to view the basic information about the smart Plug.
| Note: If you encounter any problem during the above Kasa smart plug setup steps, you can press the reset button to reset Kasa smart plug/switch according to the user manual/quick installation guide. |
Conclusion:
Resetting your TP-Link Kasa smart switch and PlugPlug is a straightforward process that can help resolve connectivity issues and ensure your devices work optimally. Following the steps outlined in this guide, you can easily reset Kasa smart plug and switch and enjoy the convenience of a seamlessly connected home.

