

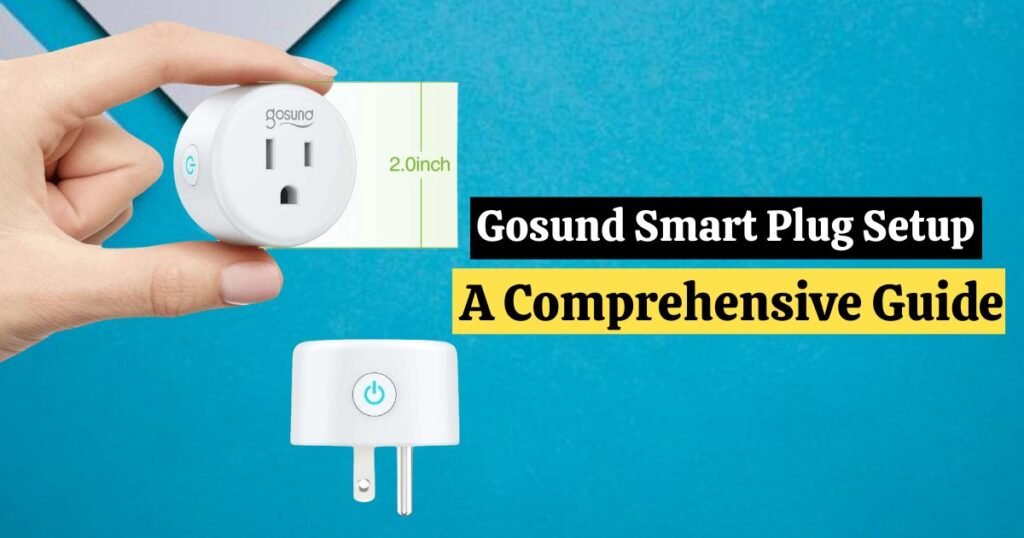
Welcome to the Future of Smart Living with Gosund Smart Plug Setup.
Learn how to master the Gosund Smart Plug Setup to enhance your smart home experience. Our guide will help you navigate the installation process confidently and unlock the true potential of your smart device.
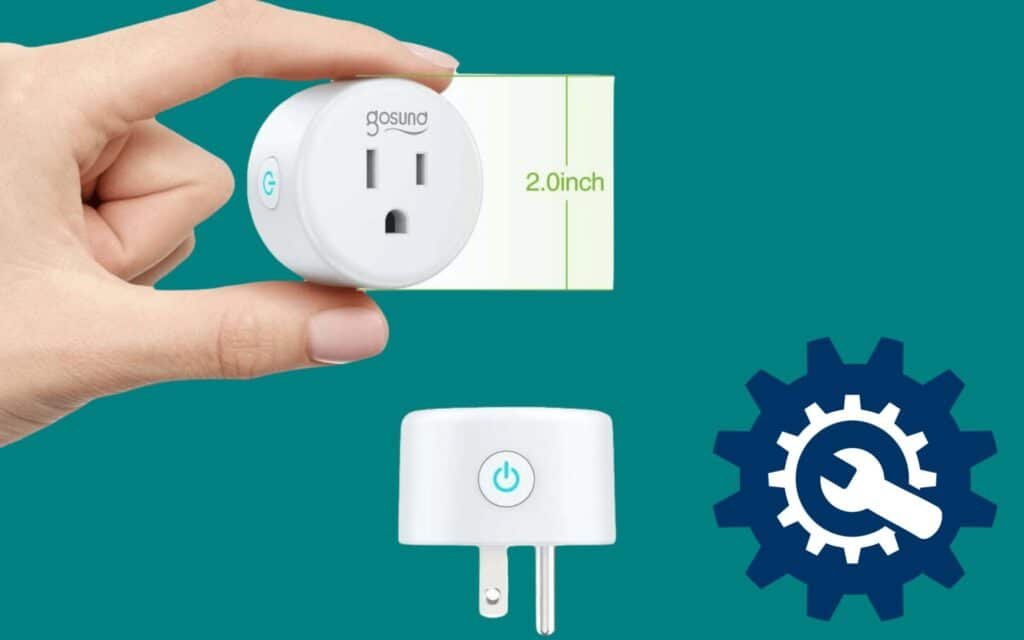
The Gosund Smart Plug makes your everyday appliances and electronics smarter. Smart plugs can be plugged into any standard electrical outlet. It allows you to control and automate plugged-in devices once connected. The Gosund Smart Plug offers the following features and functions:
- Small Design: The Gosund Smart Plug is designed to be small and unobtrusive.
- Control by voice: You can use Alexa and Google Assistant with this device. With the Gosund Smart Plug, you can use voice commands to control connected devices.
- Scheduling and Timer Functions: Schedule and timer functions allow you to control your devices at specific times. For energy-saving and security purposes, this is particularly useful.
- Power Monitoring: The Gosund Smart Plug lets you monitor the energy consumption of connected devices. This will help you identify your energy consumption and reduce it.
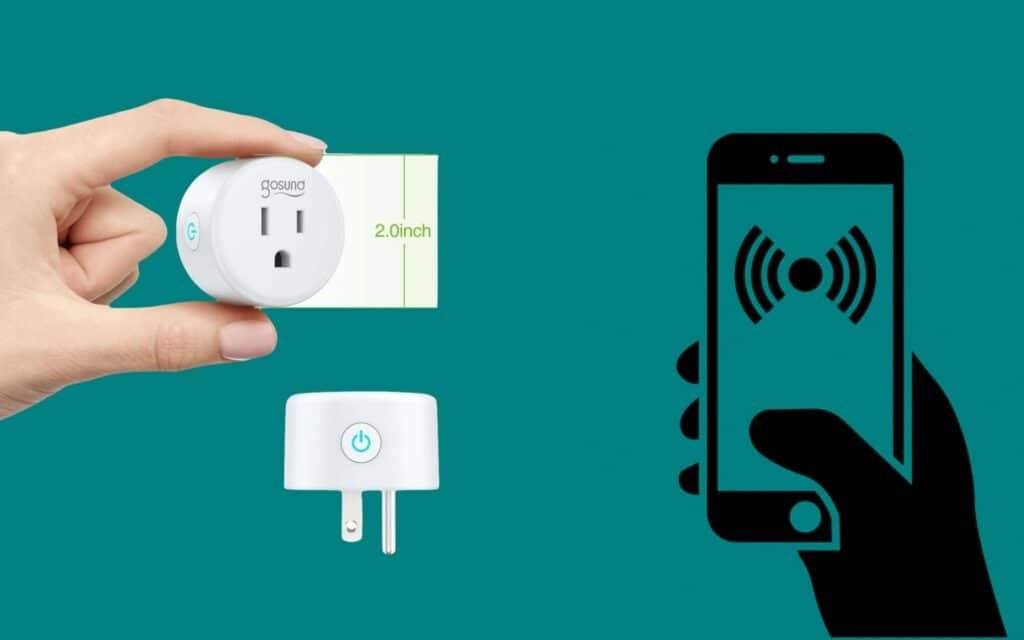
- Remote Control: With the Gosund Smart Plug, you can control devices remotely from your smartphone.
- It’s affordable: It is an attractive option for those looking to build a smart home on a budget.
How to Set up Gosund Smart Plug (Step-By-Step)
If you are looking for information about the Gosund Smart Plug setup, read this article.
A compatible application and a strong Wi-Fi network are all you need for the Gosund Smart Plug setup. You can control your electrical appliances remotely with the Gosund Smart Plug.
Looking for information on Teckin Smart Plug Setup – A Comprehensive Guide? Read this.
Gosund Smart Plug connects to Wi-Fi:
You need a 2.4GHz Wi-Fi network for the Gosund Smart Plug setup. So, your Smart Plug must be connected to a compatible Wi-Fi network.
Follow the steps below to connect your Gosund Smart Plug to a Wi-Fi network.
- The Smart plug should be inserted into an active power outlet, and a QR code should be scanned on the box.
- Install the Gosund App and sign up using a valid email address, and you will receive an email with a verification code.
- Check your email for the verification code by minimizing your screen.
- Copy the verification code and paste it.
- Create a password for your account now. You will now be logged into your new Gosund account.
After these steps, follow the instructions to add your device to the App given below:
- Choose Socket (Wi-Fi) and click ‘Add Manually.’
- Now, connect to the Wi-Fi by entering the password. Click Next to continue.
- Ensure that the indicator on the Smart Plug blinks rapidly. For other cases, hold the indicator button for about five seconds.
- After the indicator blinks rapidly, tap the “Confirm indicator rapidly blinks” button and click next.
- Next, allow the application to add the device.
After the Gosund Smart Plug setup, you can quickly turn it on or off when you connect your Smart Plug to your Gosund App. On the home screen of your Gosund App, select the plug to turn it on or off. Then, tap the ‘Socket off/on’ switch icon.
If you have problems with your TP-Link Kasa Smart plug and you want to reset it, you will also need to read this article How to Reset Kasa Smart Plug and Switch?
Gosund Smart Plug Connect To Smart Life App:
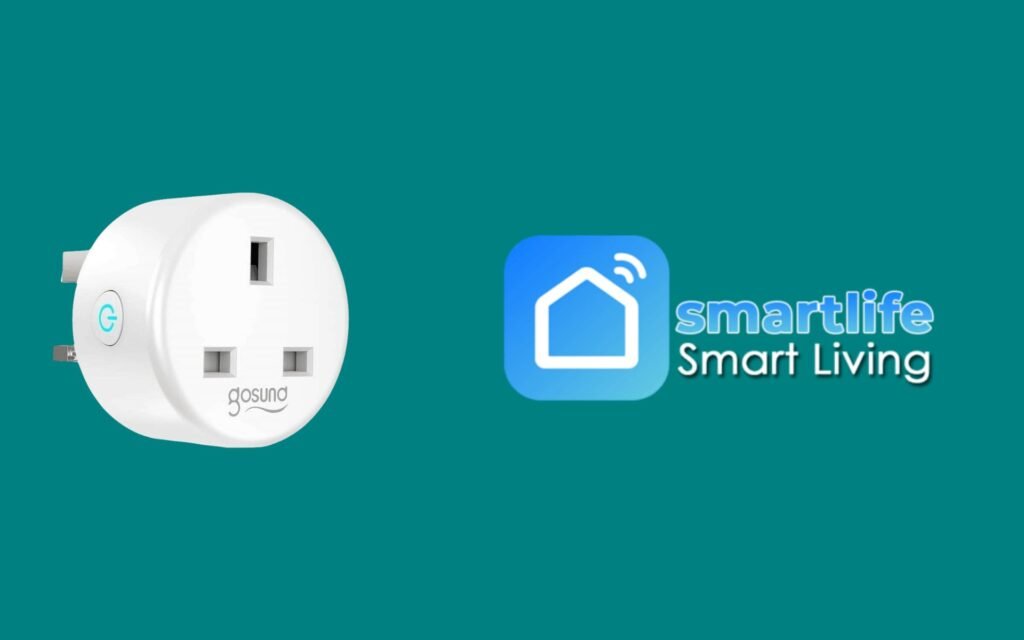
It would help if you used Easy or AP modes to connect your Smart Plug to Smartlife. To use the Easy Mode, follow the steps below.
- Download the Smartlife App.
- Click on the device button in the App.
- Add a device by clicking ‘add a device.’
- Select ‘Electrical Outlet’ on the next screen.
- Make sure your smart plug’s indicator light blinks rapidly when you power it on.
- Click the ‘confirm indicator light’ button to confirm the light is rapidly blinking.
- Enter your Wi-Fi details and confirm.
You can connect your plug to the Smartlife app by following these steps. When the indicator light blinks, select AP Mode if you must connect using AP Mode.
Gosund Smart Plug Setup With Alexa:
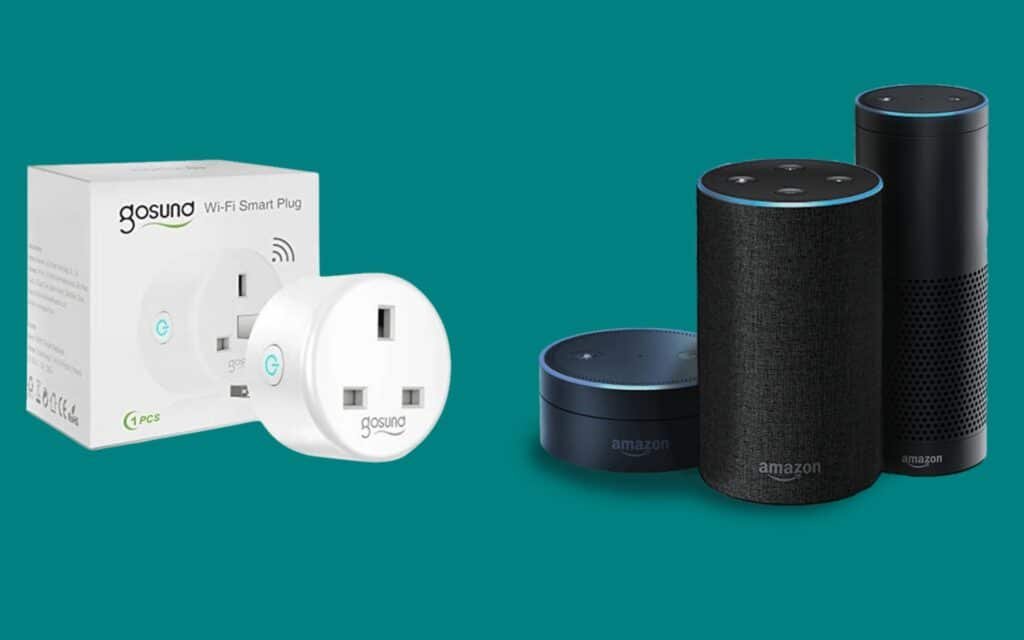
Your Smart Plug can be set up on Alexa just as easily as it can be set up on the Gosund app. Before you can connect your Plug with Alexa, you must first activate it on Gosund.
Alexa allows you to control your plug using voice commands, which is very interesting. Therefore, many smart plug users prefer to connect their plugs to Alexa.
For the Gousand smart plug setup with Alexa, follow these steps.
- Install the Alexa App on your smartphone.
- At the top left corner of your screen, tap the options button.
- Find and tap Skills and Games from the options shown.
- Find the Gosund app in the search bar by typing Gosund in the bar.
- You can connect the Gosund app with Alexa by tapping it and clicking enable.
- Tap the Gosund app and click Enable to connect it to Alexa.
- On the next screen, select the name of your plug.
- The next screen has a “Discover Devices” button. Click it.
- This step is optional. You can group smart plugs with other devices or skip them.
- Check if you can control your Gosund smart plug via Alexa using voice commands like “Alexa, turn on the lamp.”
Gosund Smart Plug Setup With Google Home:
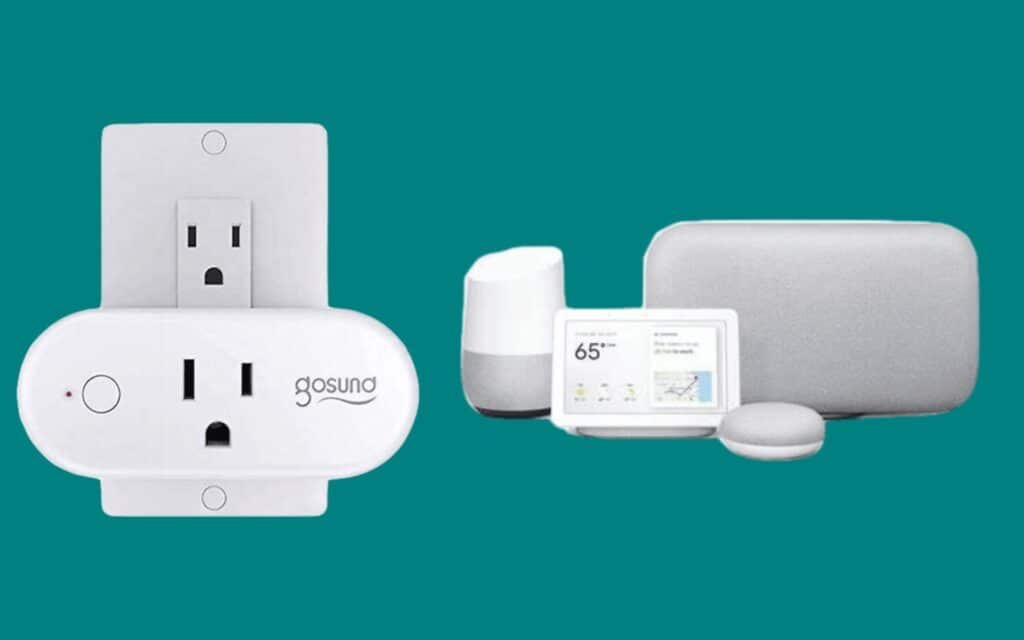
Google Home is another app to which smart plug users often connect their plugs. The plug has an extra feature, thanks to Google. You can set up Google Home with your plug by reading on.
Gosund Smart Plug setup with Google Home is very easy by following similar steps to those of Alexa. Alexa and Google Home allow you to control your Smart Plug with voice commands.
To the Gosund smart plug setup with Google Home, follow these steps:
- You’ll need a smart speaker or hub to use Google Home.
- Install the Google Home App on your phone.
- To add your new Gosund device, tap the + button in the upper left corner.
- Locate and tap the “Set up Device.”
- Click on the “Works with Google” link.
- Search for the Gosund Application using the search icon at the top.
- Enter your login information in the Gosund App.
- To add a Gosund device, select it.
- To activate Google Home, click the link now button.
CONCLUSION:
In conclusion, mastering the Gosund Smart Plug Setup opens up a new era of convenience and efficiency. Turn your home into a smart haven where any device is at your fingertips.
The smart plug has become one of the most prominent devices in smart homes. This is because they allow users to control their electrical appliances remotely. However, you can only enjoy your smart plug with the right setup instructions.
Our guide has helped you understand the Gosund smart plug setup.